The design review process is really all about the engineering team at Kenson getting together and evaluating how we are going to make this part that our customer has designed. That often means we will need to work with the customer on certain features to the extent that those are more difficult for the process; make sure it is necessary.
Once we have narrowed in on this is the right design for the part and we can successfully produce it we move on to the tooling phase. In tooling, we most often have a mold that forms the part and then a CNC fixture holds the part in place when it's being machined.
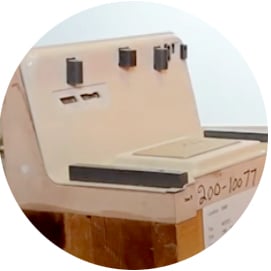
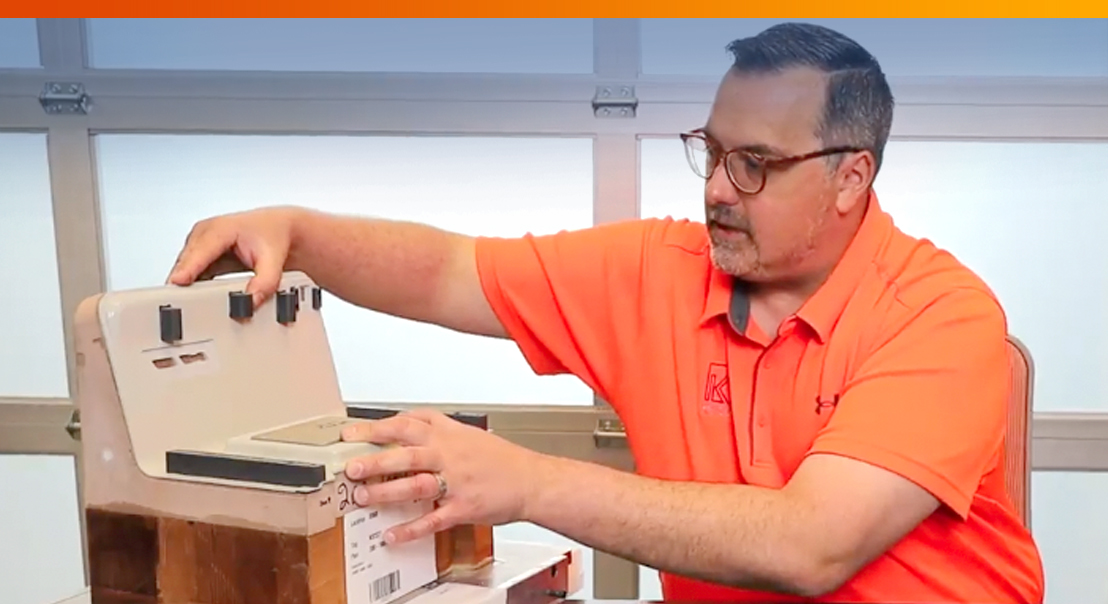
 In this example in the video, when the part is being molded we needed to make sure we were going to get nice defined features so the mold was designed in a manner to allow for that in both this area and in this area you can see that they are nice sharp features.
Then for the CNC fixture, we designed the fixture to hold the part firmly in place using vacuum while the part is being machined and you can also notice it is held in a manner that the machine can access it. While we are machining the part, the machine will come down and mill certain sections and these are the dimensions that are very critical for the overall assembly.

Then for inspection we need to make sure it is correct, we will do things like make jigs to evaluate fit. In this example, this is a 3D printed jig where the part nests into and we are evaluating these contours which would otherwise be very difficult to measure.
So, what we have is we have a tool kit around our engineering process and our quality process working together to get us this outcome which is a very high precision part at low production volumes.


 In this example in the video, when the part is being molded we needed to make sure we were going to get nice defined features so the mold was designed in a manner to allow for that in both this area and in this area you can see that they are nice sharp features.
